Installing a light pole might seem daunting, but with the right approach, you can handle it effectively. You’ll start by preparing the site and ensuring a solid foundation. It’s crucial to get the details right, as they can make or break the installation. By following some straightforward steps, you’ll achieve a secure and functional light pole. Let’s explore what you’ll need to get started and the key factors you should consider.
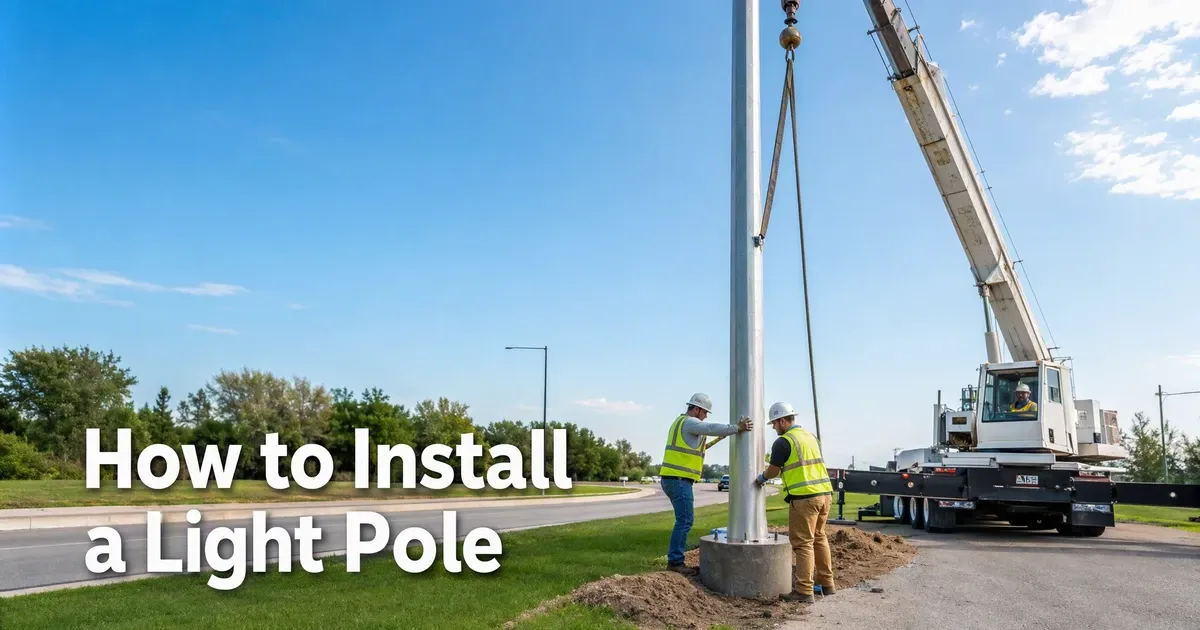
Step-by-Step Guide to Installing a Light Pole
Installing a light pole can brighten up your outdoor space and enhance safety.
First, gather all necessary tools and materials, including the light pole, concrete mix, and electrical wiring. Next, choose a suitable location, ensuring it’s away from obstacles and has access to power. Mark the spot where you’ll dig, then start digging a hole about three feet deep.
After that, insert the pole into the hole, making sure it’s level. Mix your concrete according to the instructions and pour it around the pole, securing it in place. Allow the concrete to cure properly.
Finally, connect any electrical wiring to the pole, turn on the power, and enjoy your newly illuminated area. Your outdoor space will shine with safety and ambiance!
Preparing the Foundation for Light Pole Installation
Before you set your light pole in place, ensuring a solid foundation is key for stability and durability.
Start by selecting a suitable location that’s free from obstructions like trees or buildings. Once you’ve chosen the spot, mark the area where you’ll dig your hole.
The size and depth of the hole typically depend on the height and weight of your light pole—generally, a hole of at least 3 feet deep and 2 feet wide will suffice. Use a post-hole digger or post-hole auger for this task.
Remove any loose soil or debris to create a clean base. Lastly, you may want to add gravel to the bottom for drainage, ensuring a sturdy foundation ready for your light pole.
Tools and Equipment Needed for Light Pole Installation
While preparing to install your light pole, it’s essential to gather the right tools and equipment to ensure a smooth process. You’ll need a post-hole digger or auger to create a hole for the pole.
A level is crucial for ensuring your pole stands straight. Have concrete mix, bags or pre-mixed, ready for securing your pole. You should also grab a wrench or socket set to tighten bolts and screws.
A shovel will be handy for backfilling. Don’t forget safety gear, including gloves and goggles. If your light pole is heavy, consider a hoist or a friend to help with lifting.
Having these tools on hand will make your installation much easier and more efficient.
How to Install an Aluminum Light Pole Safely
Ensuring safety during the installation of an aluminum light pole is crucial, as improper handling can lead to accidents or injuries.
First, wear your personal protective equipment, including hard hats, gloves, and safety goggles. Before starting, inspect the area for overhead lines and ensure you have enough clearance.
Use proper lifting techniques when handling the pole; if it’s too heavy, enlist help or use a hoist. Always secure the pole in an upright position when installing it and ensure it’s stable before making any adjustments.
Clear the area of any bystanders to prevent injuries. Lastly, keep all tools organized and within reach to avoid unnecessary movements.
Following these safety measures will help you install your aluminum light pole without incident.
Understanding Light Pole Base and Anchor Bolt Setup
The foundation of a light pole relies heavily on the base and anchor bolt setup, which provides stability and security for the entire structure. You’ll want to select a robust base that matches your light pole size and weight. Typically, concrete bases are used for their durability.
When positioning the anchor bolts, ensure they’re correctly aligned and spaced to fit the pole’s mounting plate. Use high-strength bolts to withstand wind and other environmental forces. After pouring the concrete, let it cure completely before installing the light pole. This ensures maximum stability.
Lastly, double-check the alignment and levelness of the installation to prevent any leaning or instability. Remember, a solid setup ensures safe and reliable pole operation for years to come.
Site Preparation Tips Before Installing a Lamp Pole
Before you dive into installing a lamp pole, it’s crucial to properly prepare the site to ensure a smooth process.
Start by choosing a suitable location, considering both functionality and aesthetics. Clear the area of debris, vegetation, and any obstructions that might impede installation.
Next, check the ground condition; stable, level ground is ideal for your pole foundation. If the soil is loose, you might need to reinforce it or select a different spot.
Also, mark the exact spot where the lamp pole will be installed to guide your digging.
Finally, ensure you have the right tools and equipment on hand, as well as any necessary permits, to avoid delays during installation.
Wiring and Electrical Considerations for Light Poles
Once you’ve prepared your site, it’s time to focus on wiring and electrical considerations for your light pole.
First, ensure your power source is nearby and check local codes for installation requirements. You’ll want to use weather-resistant wiring and components to prevent damage from the elements.
Next, dig a trench for the electrical cable, ensuring it’s deep enough to meet safety standards. Use conduit to protect the wiring underground.
When connecting the light pole to the power source, make secure, weatherproof connections to avoid shorts or failures.
Finally, consider using a timer or sensor for energy efficiency. Double-check all connections before covering the trench and installing the pole, ensuring everything is secure and properly insulated for optimal safety and performance.
Common Mistakes to Avoid During Light Pole Installation
Many homeowners make critical mistakes during light pole installation that can lead to costly issues down the line. One common error is failing to check local regulations and obtaining necessary permits, which can result in fines or removal.
Insufficiently preparing the site, like not clearing debris or ensuring proper drainage, often leads to stability problems. When you neglect to use quality materials, you risk the longevity of your light pole. Additionally, overlooking safety precautions can lead to accidents or injuries.
It’s also essential to involve the right tools for the job; using makeshift equipment can cause complications. By avoiding these common pitfalls, you’ll save time, money, and ensure a successful installation.
How to Ensure Proper Pole Alignment and Stability
Ensuring your light pole is properly aligned and stable is key to avoiding future headaches. Start by positioning the pole upright, using a level to confirm vertical alignment. Adjust the base as needed, making sure it’s plumb and straight.
To secure stability, pack the base with gravel or concrete, ensuring it’s tightly compacted. Don’t forget to brace the pole temporarily while the concrete sets, especially if it’s tall or heavy.
After the concrete has cured, double-check the alignment once more. Finally, if you’re installing multiple poles, make sure they’re in a straight line, using a string line or laser level for accuracy.
Following these steps will help maintain the integrity of your light installation for years to come.
Wind Load and Safety Requirements for Pole Installation
When installing a light pole, understanding wind load and safety requirements is crucial for stability and longevity.
You need to evaluate the area’s wind conditions, including peak gusts and direction, as these factors significantly impact your pole’s design and installation.
Calculate the anticipated wind load using proper formulas or software, considering the pole height, type, and location.
It’s essential to choose a pole that meets local codes and standards to ensure safety.
Don’t forget to properly anchor the pole to withstand potential wind stresses.
Regularly inspect and maintain the installed pole, checking for any signs of wear or damage.
This proactive approach will help ensure your light pole remains secure and functional in varying weather conditions.
Installing Decorative Light Poles for Commercial Projects
Elevate the aesthetic appeal of your commercial space by installing decorative light poles that blend functionality with style. Start by selecting poles that complement your building’s architecture and landscape.
Whether you choose wrought iron, elegant aluminum, or sleek fiberglass, ensure they match the overall design theme.
Before installation, measure the desired spacing to maintain a uniform look while also considering the light output. It’s essential to position the poles strategically to illuminate pathways, parking lots, or outdoor seating areas.
Once you’ve marked the locations, dig holes according to your pole specifications and set the poles securely, ensuring they’re level.
Finally, connect the wiring, and you’ll enjoy a beautifully lit environment that enhances both safety and style for your commercial project.
Concrete Foundation Requirements for Street Light Poles
Installing light poles, whether decorative or for street lighting, requires a solid foundation to ensure durability and stability.
You’ll want to dig a hole that’s at least 2-3 feet deep and about 18 inches wide, depending on your pole size and local regulations. Make sure the soil is compacted and free of debris.
Use a concrete mix designed for outdoor conditions, and pour it into the hole, filling it up to the required height. Consider reinforcing the concrete with rebar for added strength, especially in windy areas.
Allow the concrete to cure properly, usually for at least 24-48 hours, before attaching the light pole. This solid foundation will help support the pole and withstand environmental stresses over time.
Safety Precautions During Light Pole Installation
One should always prioritize safety during light pole installation to prevent accidents and injuries.
Start by wearing appropriate personal protective equipment, including a hard hat, gloves, and safety glasses. Ensure the work area is clear of obstacles and hazards. Use a sturdy ladder or lift when working at height, and never exceed the weight limit.
Secure the pole properly before installation, and double-check that all tools and materials are in good condition. Be cautious of electrical lines nearby—always call your local utility company for guidance if you’re unsure.
Finally, don’t work alone; having a partner can greatly enhance safety.
Maintenance Checks After Installing a Light Pole
Although the installation of a light pole is a crucial step, regular maintenance checks are equally important to ensure its longevity and effective operation.
Start by inspecting the pole for signs of rust or corrosion, especially at weld points or any exposed areas. Check the wiring and fixtures to ensure they’re securely connected and free from damage. Test the lights periodically for consistent brightness and functionality. Pay attention to any unusual flickering or buzzing sounds, as these might indicate electrical issues.
Additionally, inspect the surrounding area for debris or vegetation that may obstruct light output. Finally, schedule a professional inspection annually to address more extensive maintenance needs, helping you keep your light pole in excellent working condition for years to come.
Installing Square vs Round Light Poles: Key Differences
When choosing between square and round light poles, it’s essential to consider how each design will impact both functionality and aesthetics.
Square poles often provide better stability, making them ideal for high-wind areas. They can also create a modern look, enhancing contemporary settings.
On the other hand, round poles offer a classic appearance and may blend better in more traditional surroundings. They’re typically easier to install since they can be anchored in various directions.
Additionally, round poles may require less material, potentially lowering costs.
Think about the intended environment, design preferences, and installation specifics before making a decision. Each shape has its advantages, so weigh them carefully to ensure you choose what best meets your needs.
How to Install Light Poles in Parking Lots and Streets
nstalling light poles in parking lots and streets requires careful planning and execution to ensure safety and functionality.
First, mark the locations for each pole, keeping in mind spacing requirements to provide adequate illumination. Next, dig holes that are deep enough to securely anchor the poles, typically about one-third of the pole’s height.
Insert the pole into the hole, ensuring it’s level, then fill the hole with concrete or compacted soil for stability. Allow the base to cure before attaching any wiring or fixtures.
Connect the electrical system, following local codes, and double-check all connections for safety.
Finally, test the lights to ensure they work properly, providing a well-lit environment for drivers and pedestrians alike.
Choosing the Right Pole Height Before Installation
How do you determine the right height for your light poles? First, consider the area you’re illuminating. For parking lots, poles between 12 to 20 feet are often ideal, providing ample light without being overwhelming.
For sidewalks and outdoor spaces, you might opt for heights around 10 to 14 feet to ensure safety and visibility without obstructing views.
Next, think about the spacing between poles; taller poles can be spaced farther apart. Also, factor in the type of lighting fixtures you’re using, as LED fixtures can be more effective at lower heights.
Lastly, local regulations or guidelines may dictate specific height requirements, so it’s essential to check those before making your final decision.
Professional Tips for Faster and Safer Pole Installation
Once you’ve chosen the right height for your light poles, it’s time to focus on the installation process. Start by assembling your tools and materials before you begin. Ensure you’ve got a level, shovel, concrete mix, and safety gear.
Mark the installation spots carefully to avoid costly mistakes. Dig holes that are one-third the pole’s length, making sure they’re straight. Use a level to align the poles vertically as you set them in place.
Pour concrete around the base and allow it to set according to the manufacturer’s instructions. Always double-check your work, and don’t hesitate to enlist help for lifting heavier poles.
Following these tips will make your installation faster and safer, ensuring a successful project.
How Aluminum Light Poles Simplify Installation Work
Aluminum light poles can significantly simplify your installation work due to their lightweight design and durability.
You’ll find that handling these poles is much easier compared to heavier materials like steel or concrete. Because they’re easier to transport and maneuver, you’ll spend less time and effort on site.
Their corrosion-resistant properties mean you’ll spend less time worrying about maintenance, ensuring your poles stay in great shape for years to come.
Plus, the pre-drilled holes on many aluminum poles streamline the wiring process, letting you focus on getting the job done efficiently.
Final Inspection Checklist for Light Pole Installation
Before wrapping up your light pole installation, it’s crucial to conduct a thorough final inspection to ensure everything is up to standard. Start by checking that the pole is securely anchored and leveled. Look for any signs of damage or corrosion; if you find any, address them immediately.
Next, inspect the wiring connections to confirm they’re tight and well-insulated, preventing any electrical hazards. Test the light fixture to ensure it operates properly, and check the positioning for optimal illumination.
Verify that the area around the pole is clear of debris or obstacles. Lastly, ensure all safety signage is in place. Completing this checklist won’t only guarantee functionality but also enhance safety for everyone around your newly installed light pole.
Conclusion
In conclusion, installing a light pole can be straightforward if you follow the right steps. By preparing your site, excavating properly, and securing your pole with concrete, you’ll ensure stability and safety. Don’t forget to connect the wiring according to local codes and test everything before finishing up. With the right tools and techniques, you’ll have your light pole up and shining in no time! Happy lighting!

